-
×
 Lettuce(Head) - Nevada
1 × $3.00
Lettuce(Head) - Nevada
1 × $3.00
Subtotal: $3.00
 Lettuce(Head) - Nevada
1 × $3.00
Lettuce(Head) - Nevada
1 × $3.00 Subtotal: $3.00
Lettuce(Head) - Nevada
1 × $3.00 Subtotal: $3.00

Comments (6)
Jeff July 27, 2020
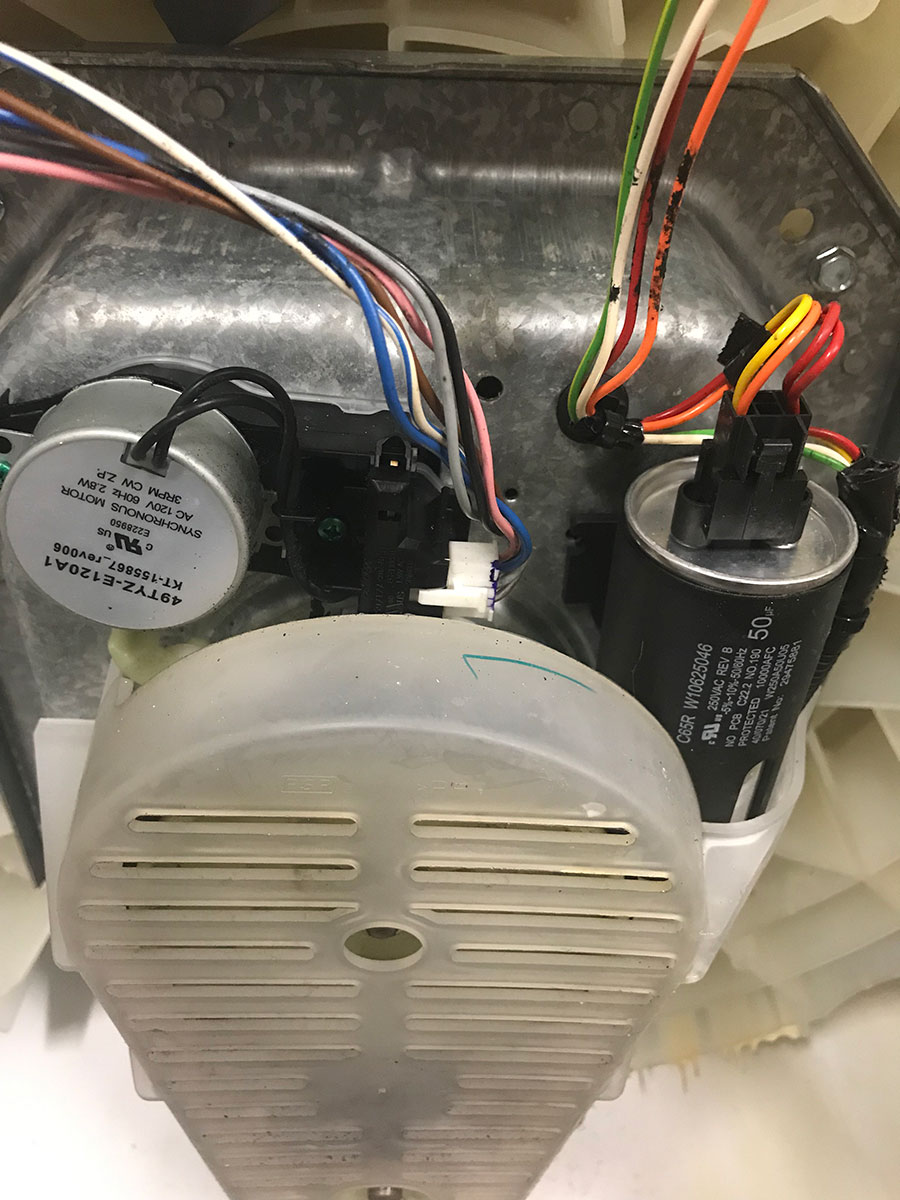
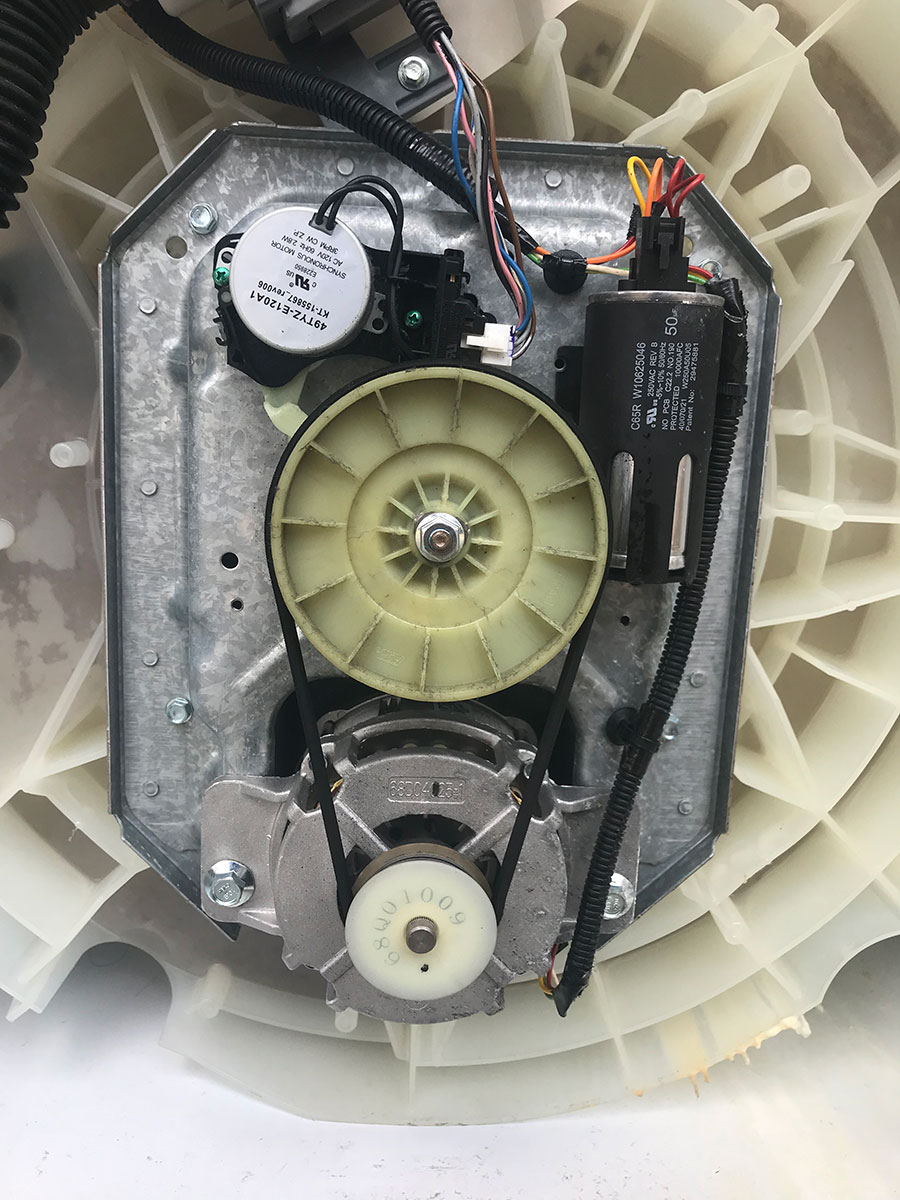
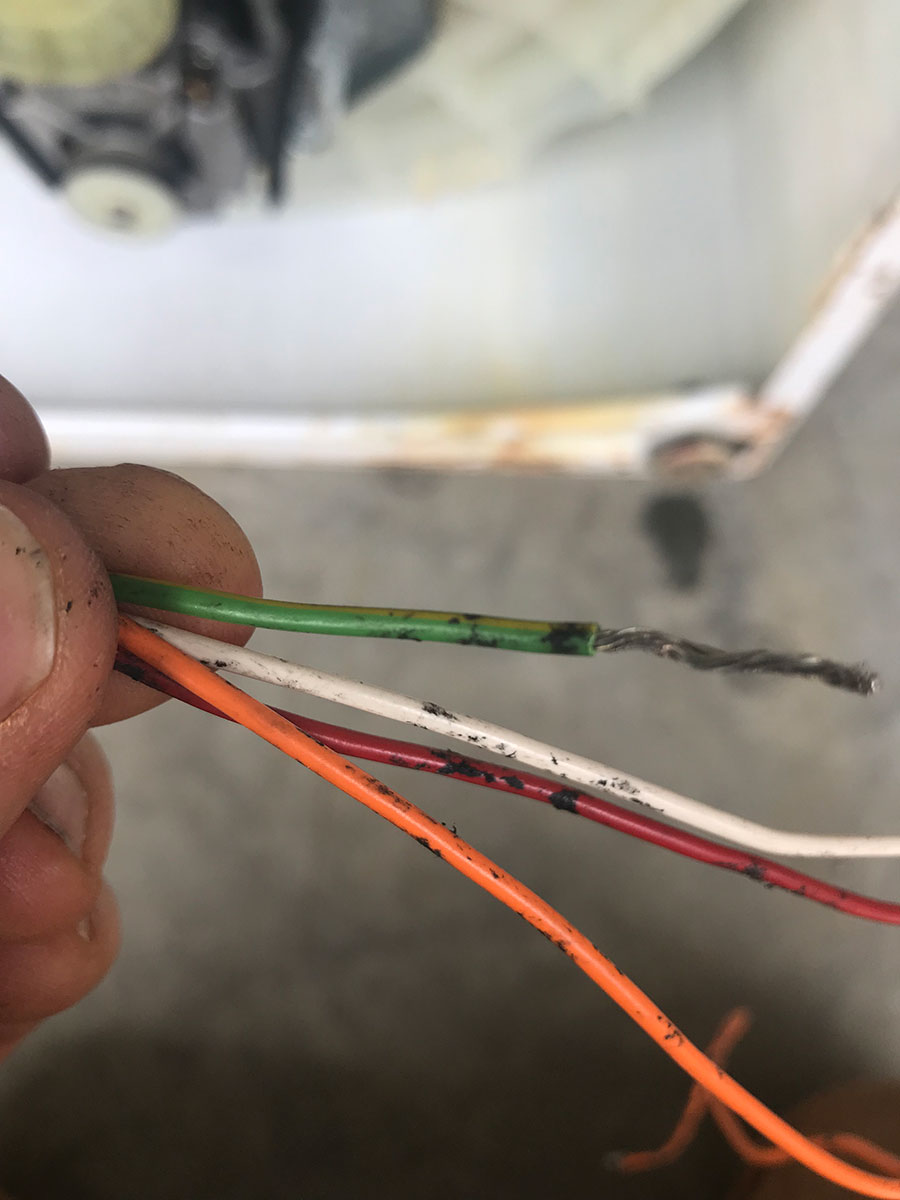
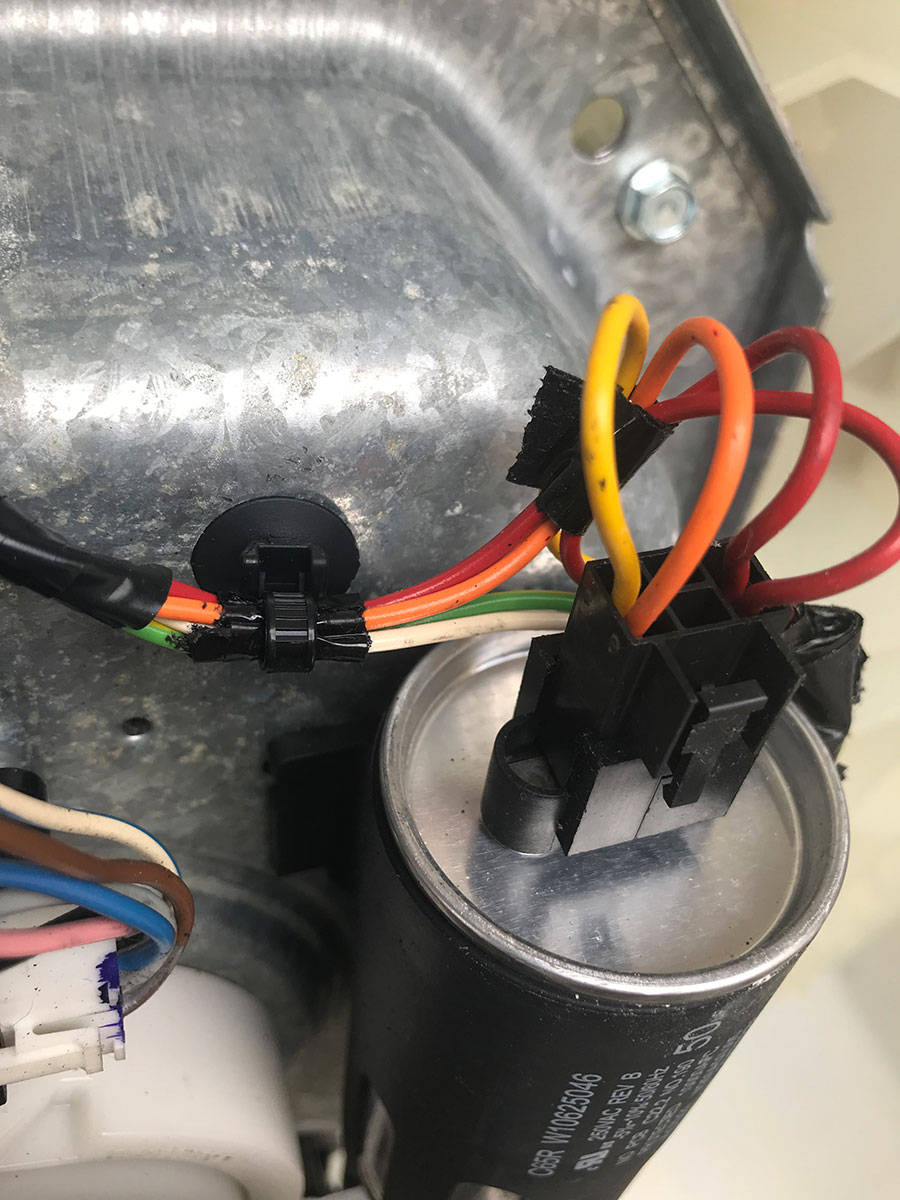
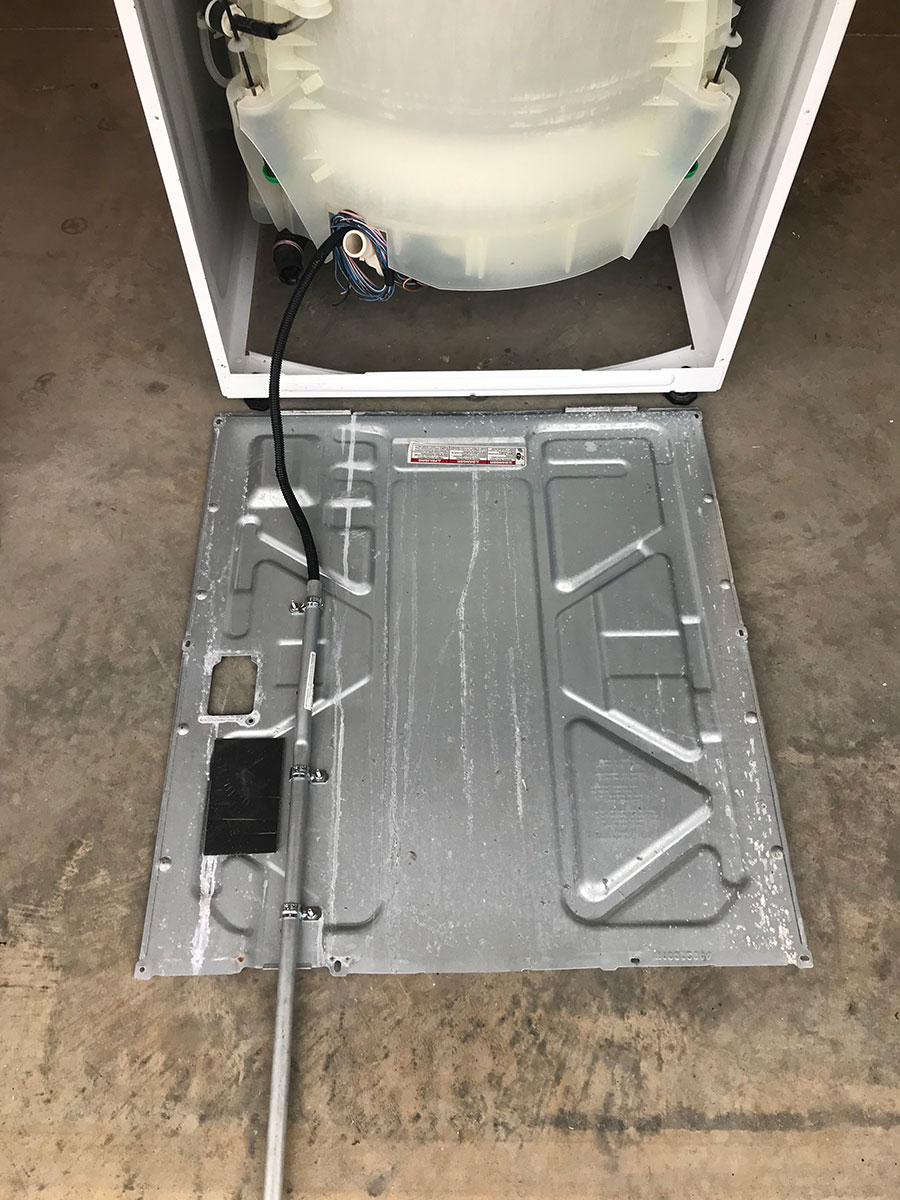
How can you terminate the orange wire and connect to the timer at the same time? Do you just use the slow speed for salad spinning?
Mike@ThePiedmontHomestead July 28, 2020
Jeff, That is my mistake, Red gets terminated. Orange in this case is the low speed. We only use the low speed for spinning, it is plenty fast enough.
Erik February 13, 2021
What washer make and model did you end up going with and how is it working out for you? It looks great!
Mike@ThePiedmontHomestead February 13, 2021
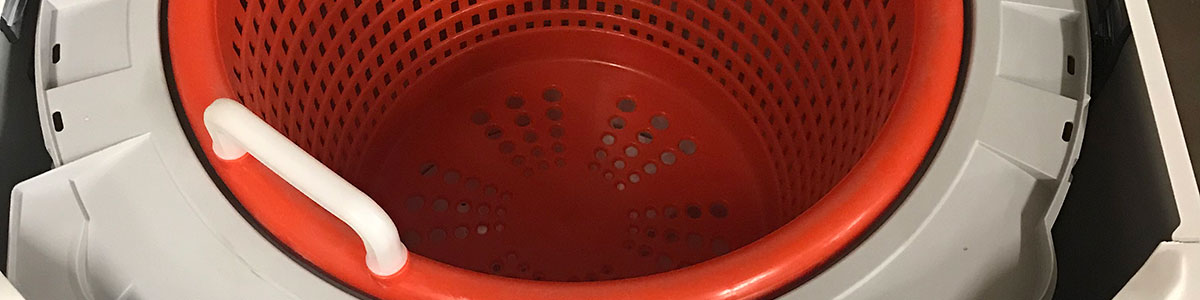
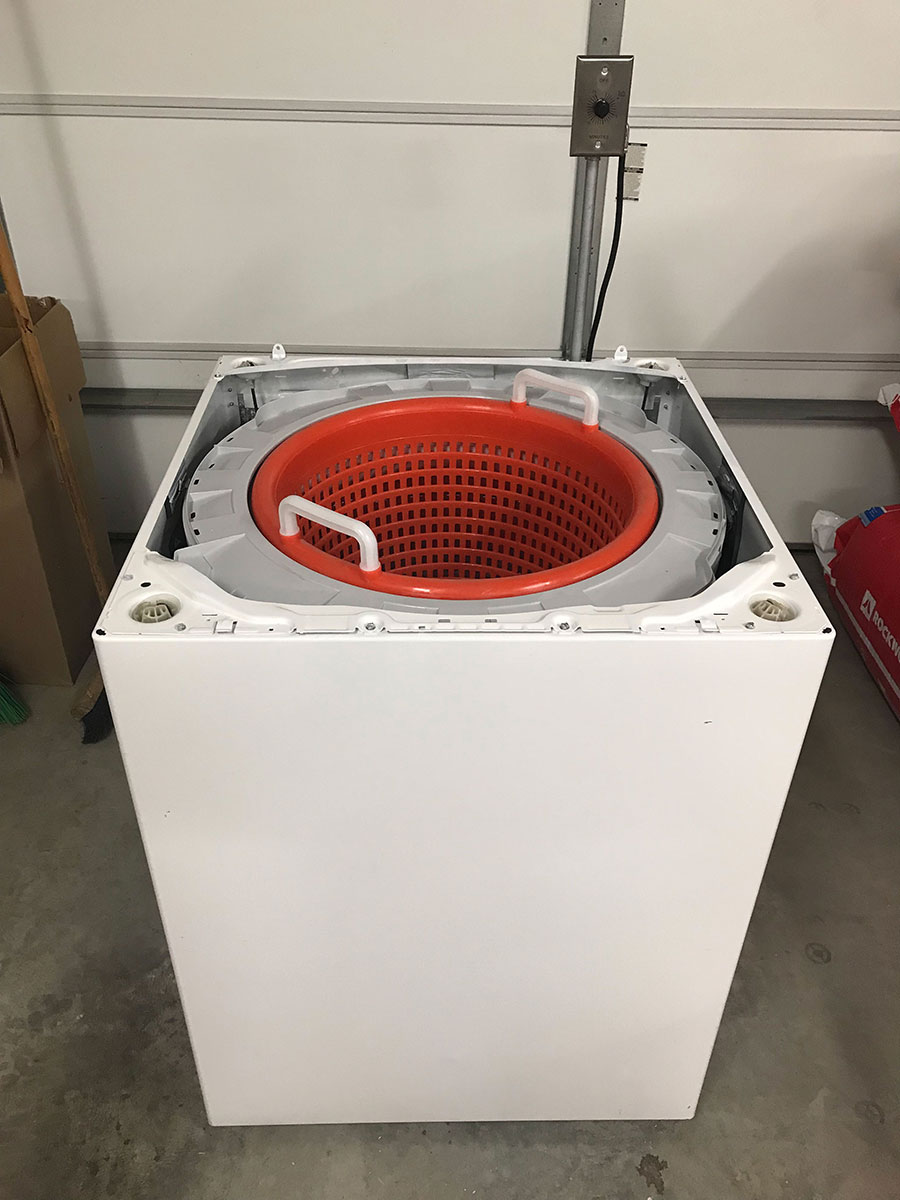
Its a Whirlpool, the model I dont know, Just make sure to find something without an agitator and with a single phase motor.
Brendan March 3, 2021
Do you wire up the pump that is normally found in these washers? Isn’t that needed to assist in draining during the spin? I see lots of wiring diagrams that seem to ignore the pump?
Mike@ThePiedmontHomestead March 3, 2021
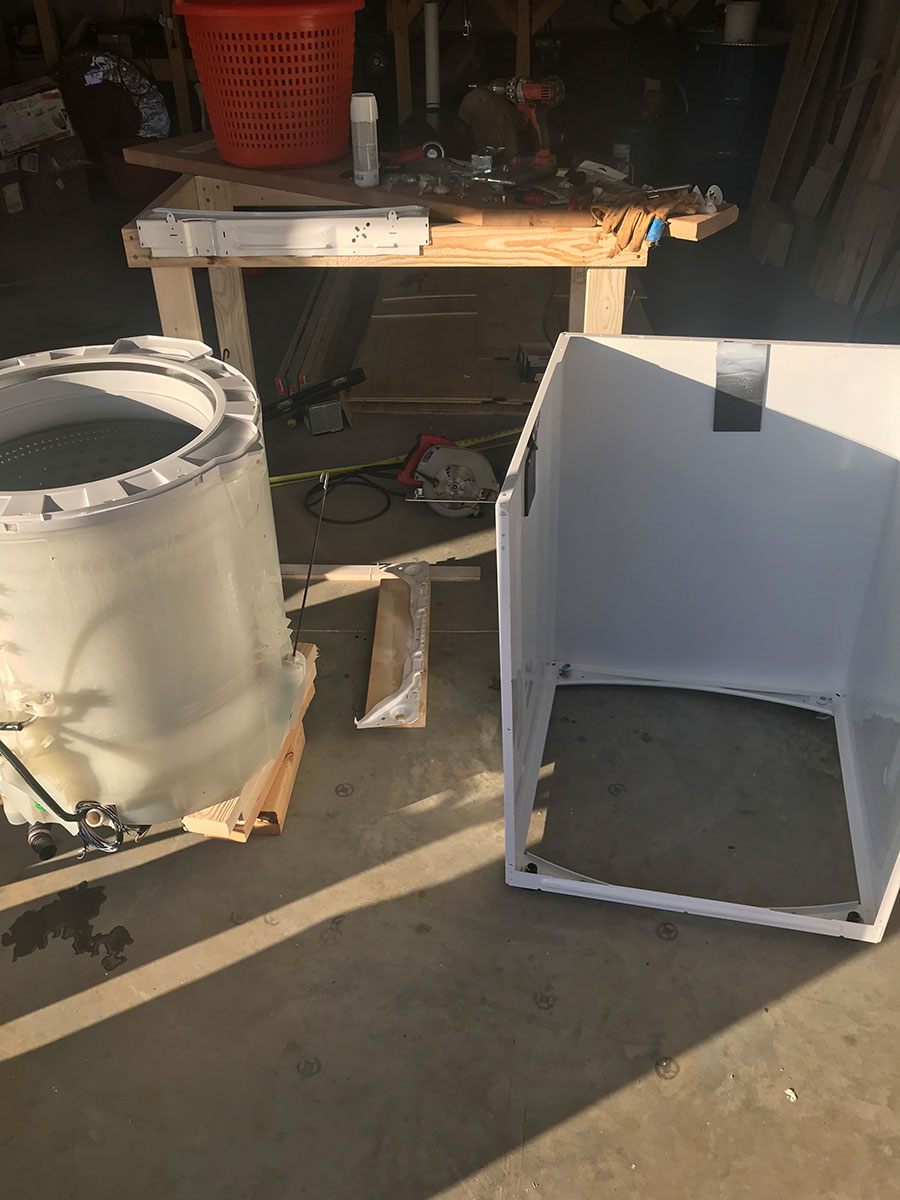
You could, but to make things simpler we just unhooked the hose and let the water drain out of the bottom. The hose between the tub and the pump I just unhooked it and clocked it to the side so it drains to the floor (we have a floor drain).